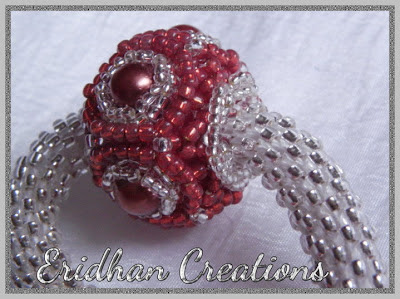
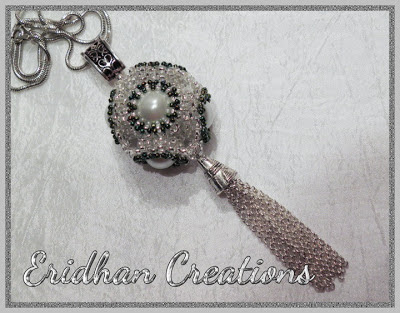
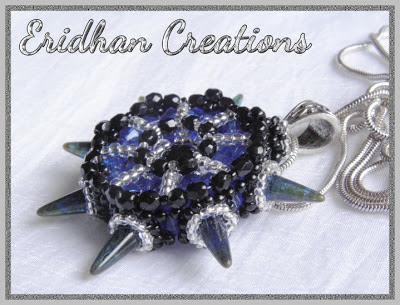
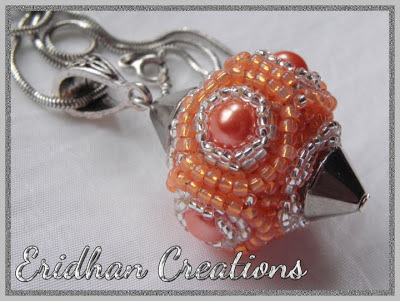
As I promised yesterday, I have prepared a quick tutorial how to make a beaded bead like in this picture:
Now you will see that despite looking complicated, it is very easy to make. :)
You will need:
54 x 4mm bicone crystals
12 x 4 mm round beads (e.g. wax pearls)
36 x 3 mm round beads (e.g. metal balls) - can be substituted with size 8 seed beads
6 x 2 mm round beads
276 x size 11 seed beads
168 x size 15 seed beads
Your favourite beading thread
Beading needle size 12-13
The finished piece measures around 2,5 cm (1").
1. Pick up 6 x bicone crystals and cross the thread in the last bead. Work with cross weave stitch adding 2 beads on the right and and 2 beads on the left thread and crossing the thread in the 5th bead. Repeat 4 times.
2. Pick up 2 beads with the left thread and 2 beads with the right one and cross the thread in the most outer bead on the other edge (grey bead in the picture)
3. Working with one thread pass the needle through the nearest bicone (pink bead), pick up 3 x bicones and pass the needle through the two bicones added in the previous row, then through the three beads added in this step and the next two bicones from the previous row.
4. Pick up 2 x bicones, pass the needle through the nearest bicone added in this row, then again through the two bicones your thread was coming out, and the first bicone added in this step.
5. Continue with adding beads as shown in the picture (right angle weave stitch). In the last step pass the needle through the nearest bicone added in the beginning of this row (blue bead), pick up 1 x bicone and join both sides together.
6. Repeat steps 3-5 on the other side of the first row.
7. To embellish the circles of bicones from the middle row with right angle weave stitch make sure your thread is coming out from one of the bicones in this row.
8. Pick up 1 x 3mm bead, 1 x size 11 seed bead, 1 x 3mm bead and pass the needle again through the same bicone your thread was coming out. Pass the needle through the next bicone in the circle.
9. Pick up 1 x 3mm bead, 1 x size 11 seed bead and pass the needle through the nearest 3mm bead added in the previous step and the same bicone your thread was coming out. Pass the needle through the next bicone in the circle. Repeat this step 3 more times.
10. Pass the needle through the nearest 3mm bead added in step 8.
11. Pick up 1 x size 11 seed bead and pass the needle through the nearest 3mm bead added in the previous step and the same bicone your thread was coming out.
12. Pass the needle through all seed beads in the circle at least 2 times. Keep the tension tight.
13. Pick up 1 x 2mm round bead and pass the needle through one of the seed beads on the opposite side. You can pass the needle again through the seed beads and the 2mm bead to secure this bead even more.
14. Repeat steps 8-13 for the remaining 5 circles of bicones in the middle row.
15. Pass the needle through the nearest 3mm round bead.
16. Add size 11 seed beads between the 3mm beads and pass the needle through the beads as shown in the picture:
17. To embellish the circles of bicones from the outer rows with right angle weave stitch make sure your thread is coming out from one of the bicones in this row.
18. Pick up 4 x size 11 seed beads and pass the needle again through the same bicone your thread was coming out. Pass the needle through the next bicone in the circle.
19. Pick up 3 x size 11 seed beads and pass the needle through the nearest seed bead added in the previous step and again through the same bicone your thread was coming out. Pass the needle through the next bicone in the circle. Repeat 2 more times.
20. Pass the needle through the nearest seed bead added in step 18 and pick up 2 x size 11 seed beads.
21. Pass the needle through the nearest seed bead added in step 19, then again through the same bicone your thread was coming out.
22. Pass the needle at least 2 times through 10 seed beads in the middle and tighten the thread to form a circle.
23. Pick up 1 x 4mm round bead and pass the needle through one of the seed beads on the opposite side. Push the bead gently inside the circle of seed beads and pass the needle again through them to secure the last added bead.
24. Repeat steps 18-23 for the remaining 11 circles of bicones in both outer rows.
25. Embellish the outer rows adding 4 x size 15 seed beads between the circles as shown in the picture:
26. Add 5 x size 15 seed beads between every two size 11 seed beads on the most outer edges, and between every four seed beads on the inner edges as shown in the picture:
27. Embellish the edge of the hole of your beaded bead, working with right angle weave stitch in the same way you were doing it in steps 18-23, only you have to start with adding 5 x size 11 seed beads, and then continue with adding 4 x size 11 seed beads and 3 x size 11 seed beads in the last step. Pass the needle through 18 seed beads at least two times and tighten the thread to form a circle. Repeat it on the other side of your beadwork.
28. End the threads, make and secure the knot and enjoy your new beaded bead.
HINT: You can use the finished piece as a beaded core bead, but you can also use it as a pendant.
Take 2 x 8mm round beads (e.g. wax pearls) and a long metal head pin and string 1 x 8mm bead,
your beaded bead and 1 x 8mm bead. Make a loop, attach a bail and your pendant will be ready.
You can add some decorative caps too - the possibilities are limited only to your imagination. :)
And one more thing for the end... I hope you enjoyed making this pendant and the tutorial
was helpful for you. I will be happy to receive some feedback, and if you have any suggestions
what should be changed in this tutorial, feel free to contact me. If you are going to show this
pendant on your blog or any other website, please give me a credit for being the author of this
pattern.
Happy beading!
Author: Justyna Szlęzak, Eridhan Creations
eridhan.blogspot.com
Unauthorized copying and/ or commercial use prohibited
Copyright by Justyna Szlęzak 2013
--------------------------------------------------------------------------------
The printer friendly pdf file with the whole instruction is available
here on Craftsy.
Disclaimer: Please do not sell the items you made from the free tutorials. If you want to sell the items, please purchase the pdf files I offer on Craftsy and Etsy - that gives you the right for selling your creations. Thank you.


